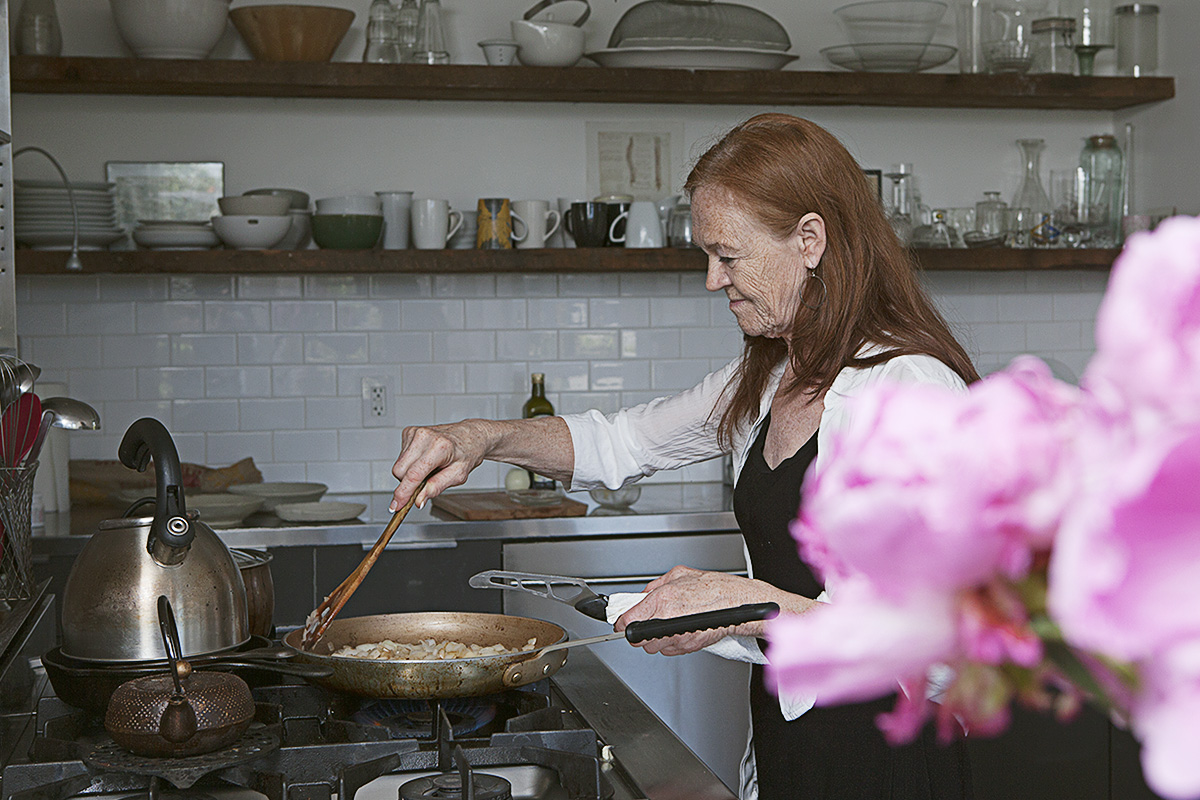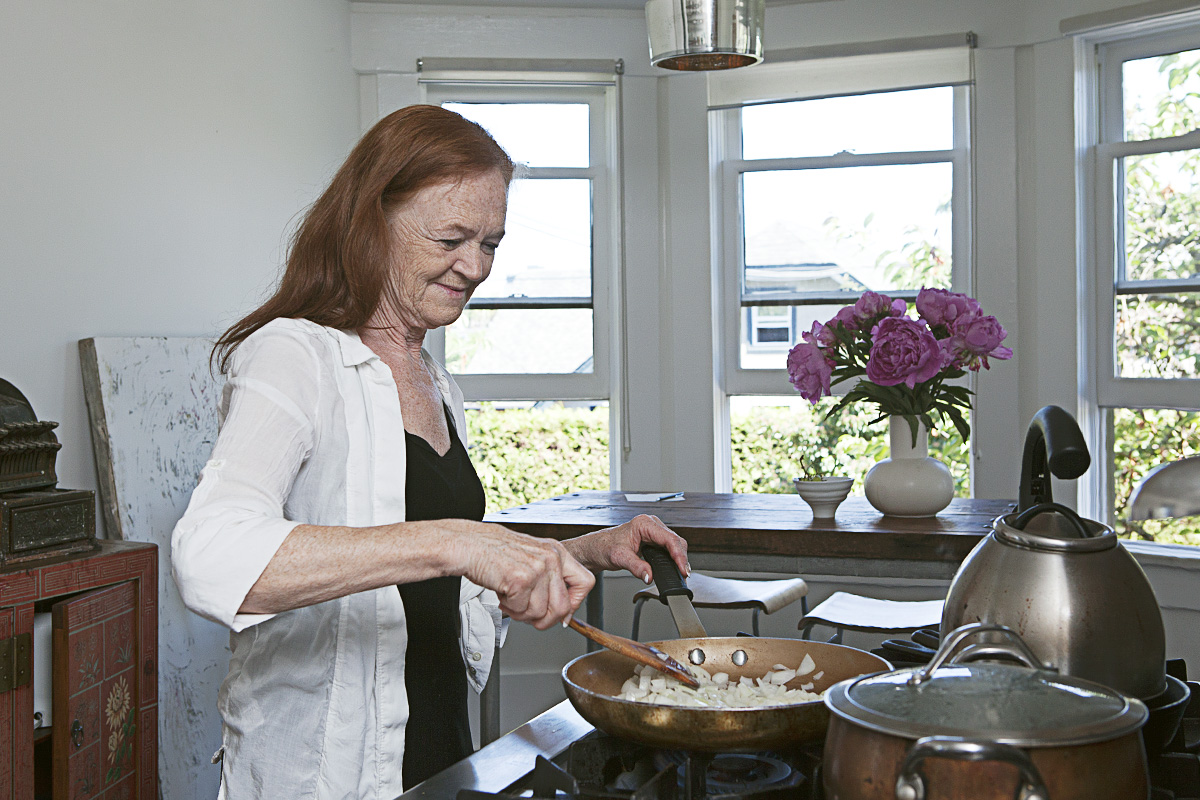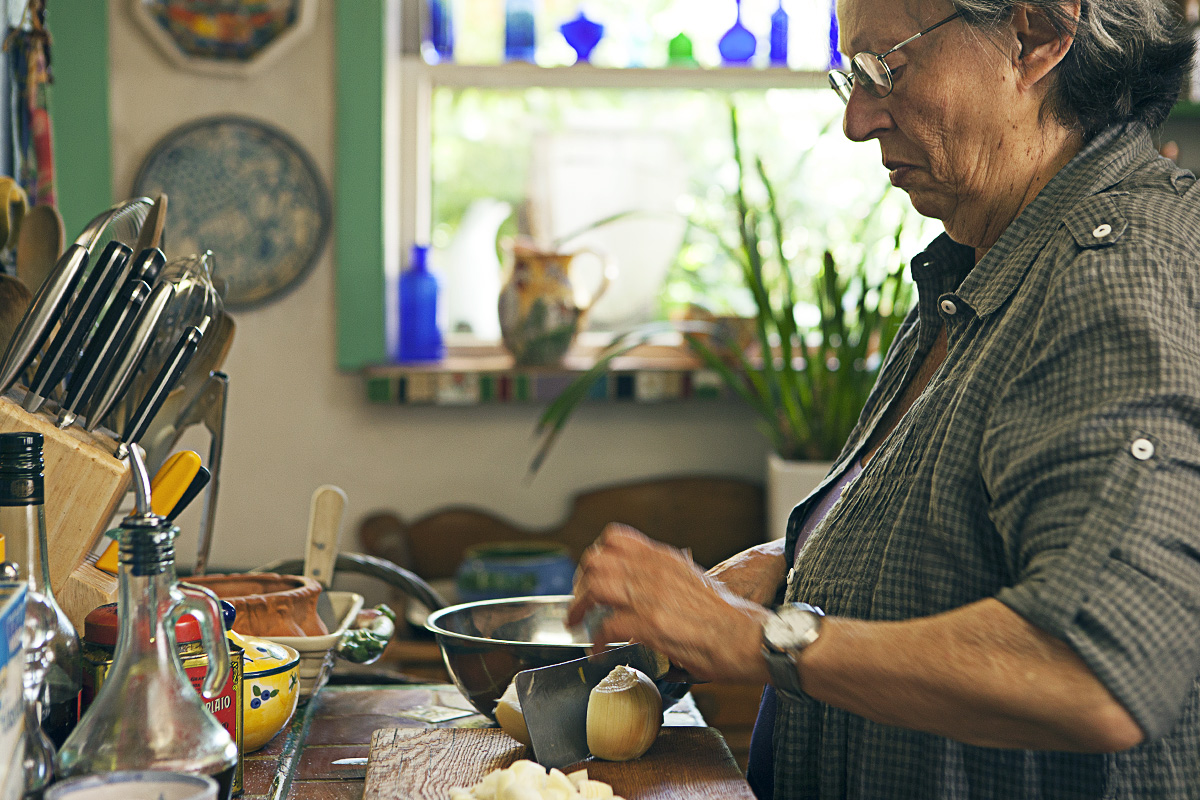
Saiarun lives a few houses away from the shop. She is a caregiver; she has been looking after a 97-year old woman for about 2 years. There is a light that shines about Saiarun - her smile reveals her spirited nature.
Most of us live in mighty fast times. There are days where some of us can even barely keep up with our schedules, much less pencil in any time to sustain ourselves through food. Saiarun (sigh-rune) grew up in a family whose food philosophy centred around quick, easy, and sustaining meals, and indeed, this thirty-minute dish she has chosen to prepare for us in this segment of Les Recettes de Ma Mère is still part of her regular repertoire of meals, and keeps very much to the way her mother prepared it.
"My mom was a business woman... so all her meals had to be prepared quickly. The thing is, I never learned to cook as a child. My mom cooked. My sister cooked."
When Saiarun got married, she realized she finally had to learn how to cook, so she would watch her sister and her mom prepare meals. "I learn really fast, but I forget really fast, too." Once she had acquired the foundations of her everyday culinary repertoire - which flavours go with which, etc. - the act of cooking and preparing meals also became part of her everyday. Something that seemed so preternaturally engrained in her mother and her sister in her early days suddenly feels so natural to her once she her adult life hit. As she was chopping up the aromatics for her dish, she said, laughingly, "I learned how to cook... because my husband loves to eat."
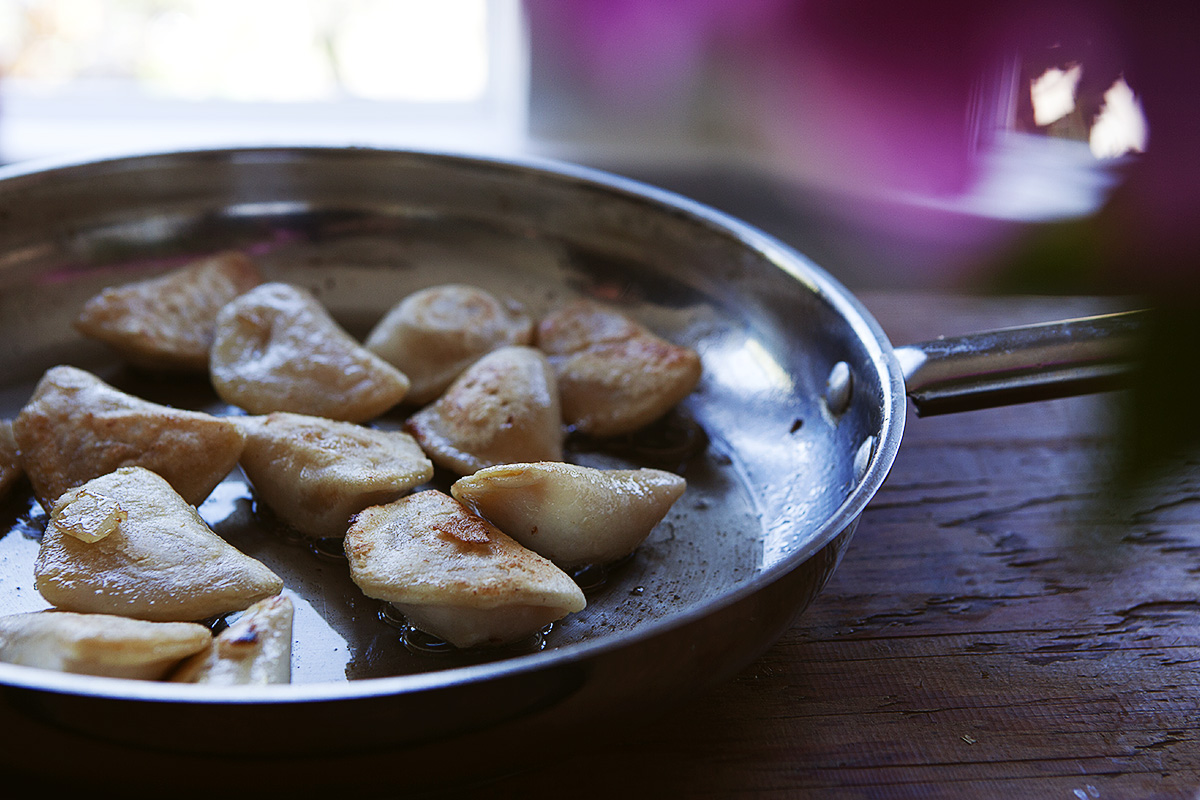
This dish is easy to prepare, needs very few ingredients, takes very little effort, even after all of the mise-en-place, and best of all, it takes only half an hour to prepare.
One-pot Yunnanese Chicken
Preparation time: 30 minutes | Serves 6-8
Ingredients
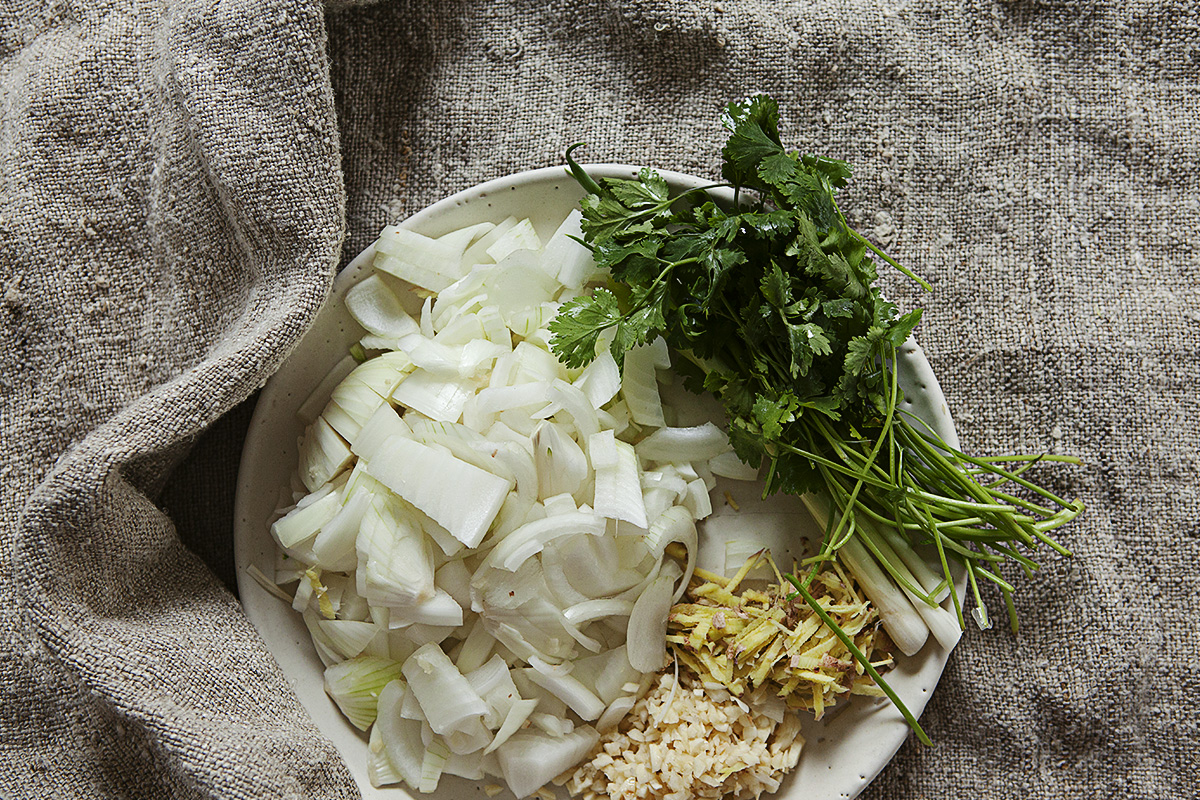
2 large onions
cloves from a bulb and a half of garlic
2 large thumb-sized pieces of ginger (with skin on)
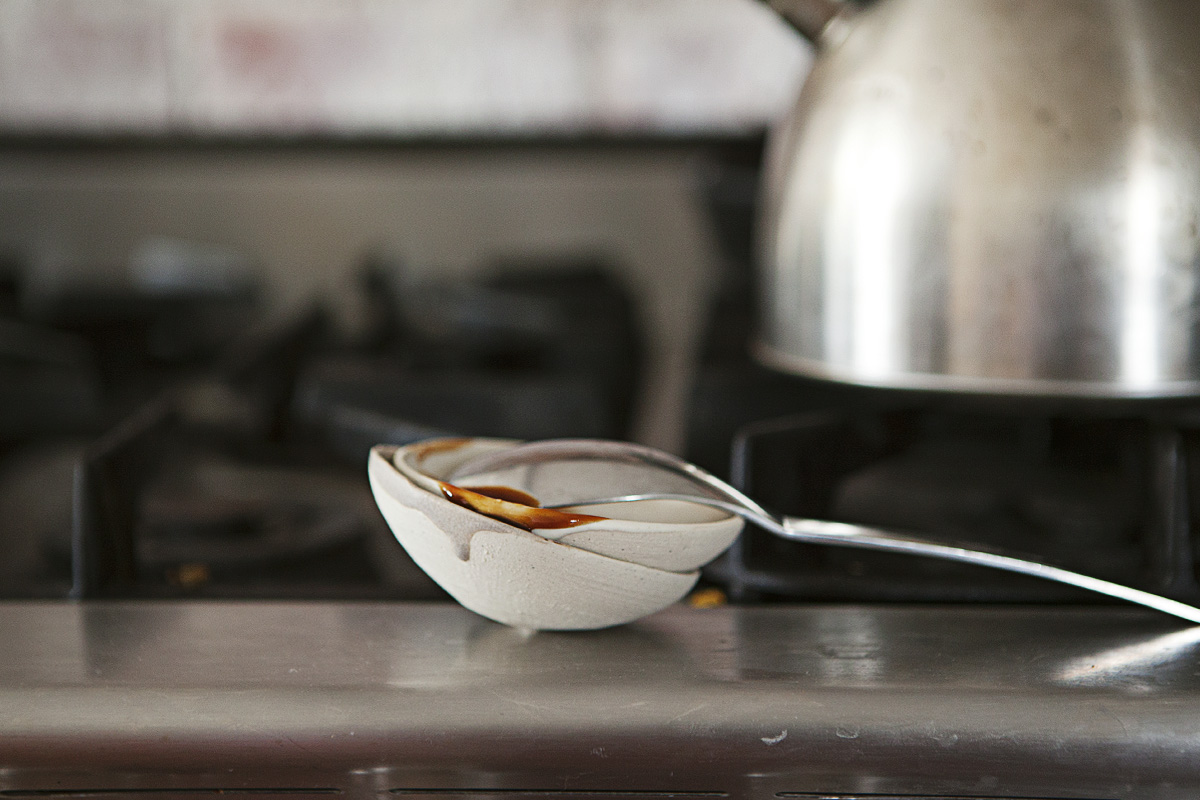
2 tbsp. of soy (plus extra for seasoning, if required)
1 tbsp. oyster sauce
2 tsp. ground tellicherry peppers
1 whole chicken, cut into manageable pieces
2 tbsp. grapeseed oil
Mise-en-place

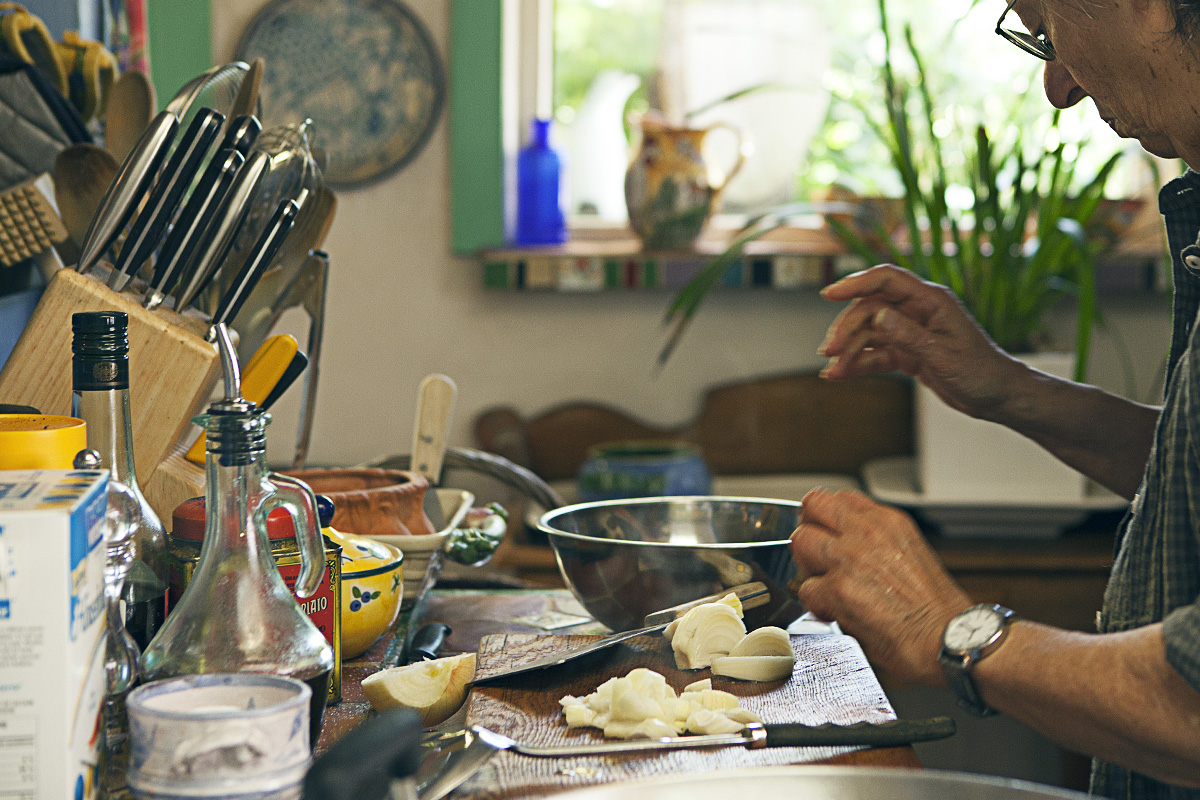
1) Mince the garlic and chop the onions. Set aside.
2) Slice the ginger into oval coins, then slice those coins into little matchsticks (julienne).
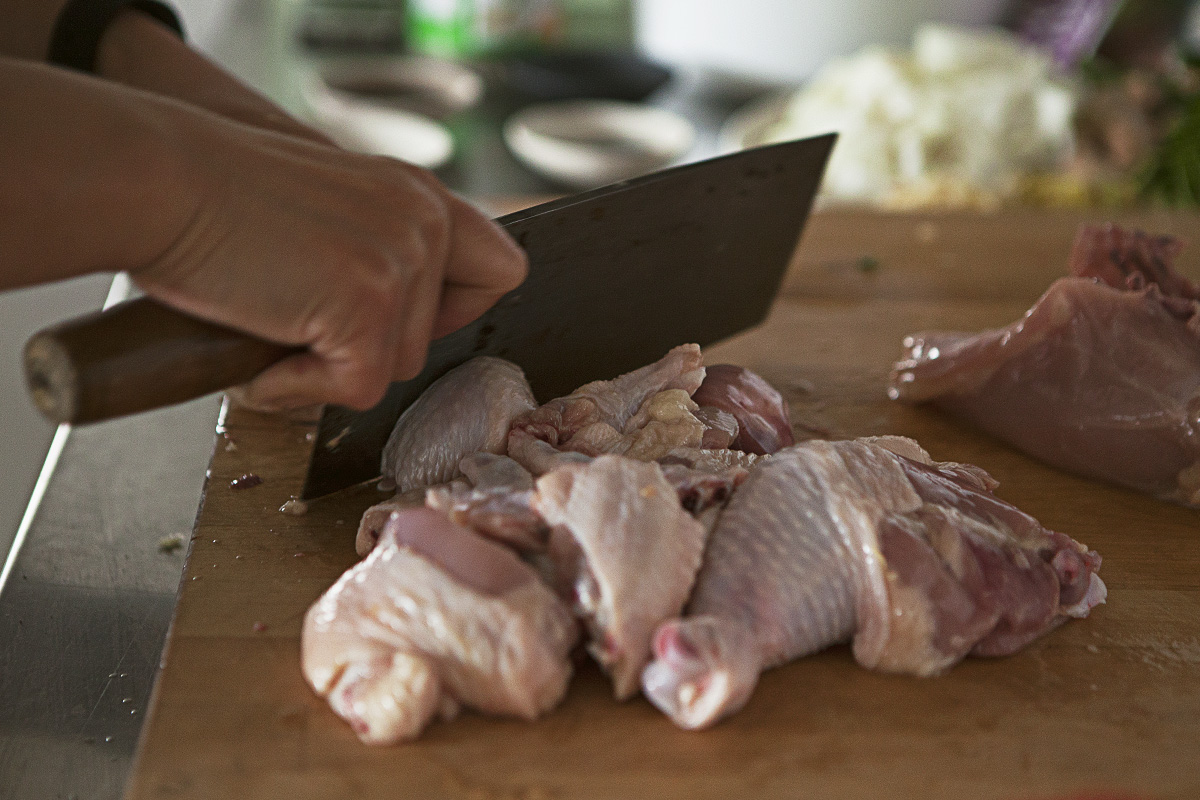
3) Take a butcher's cleaver, or your most sturdy knife, and cut the whole chicken into smaller pieces, a little larger than bite-sized. Saiarun says the trick to achieving this is to just give it all of the power you can; chicken bones are easy to cut through if you have a good, sharp knife. Of course, it is best to use a whole chicken for this, but if you feel a bit hesitant to tackle an entire chicken on your own, you can ask your butcher to do it for you, or, for convenience, purchase a few chicken pieces of your choice, enough to look like it came from one whole chicken.

Directions
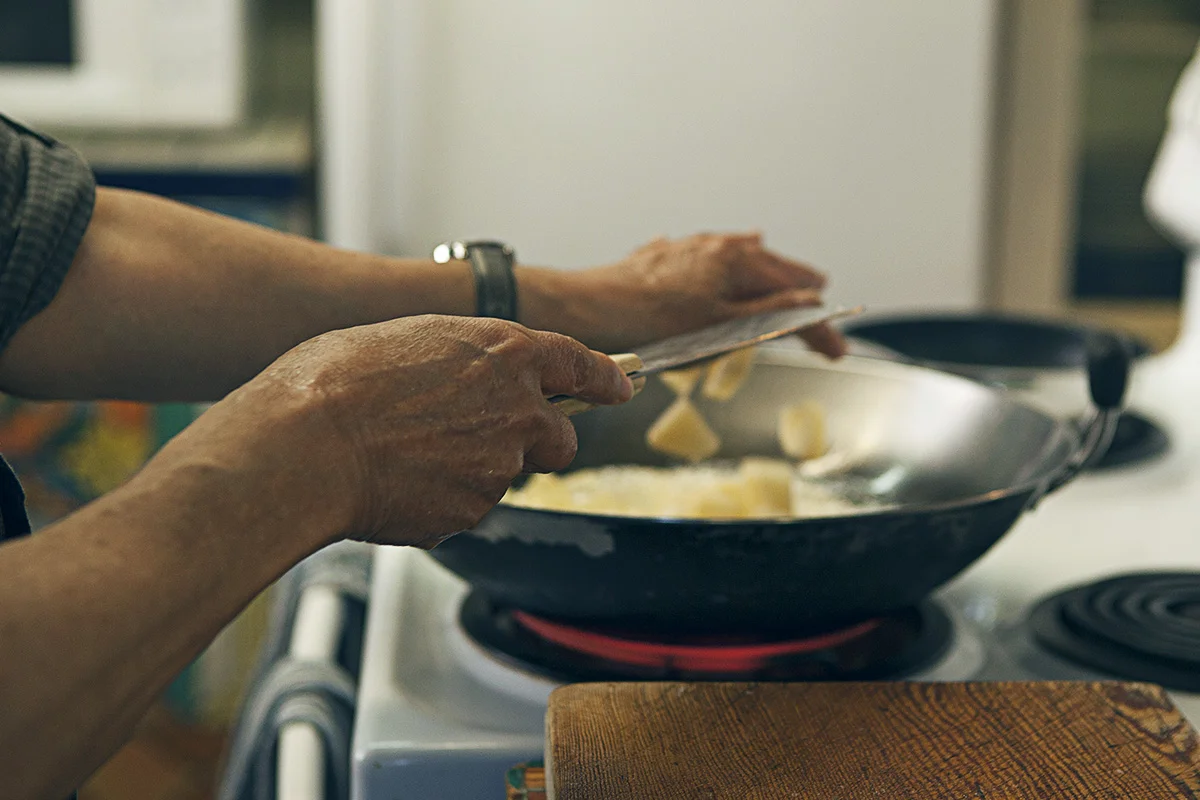
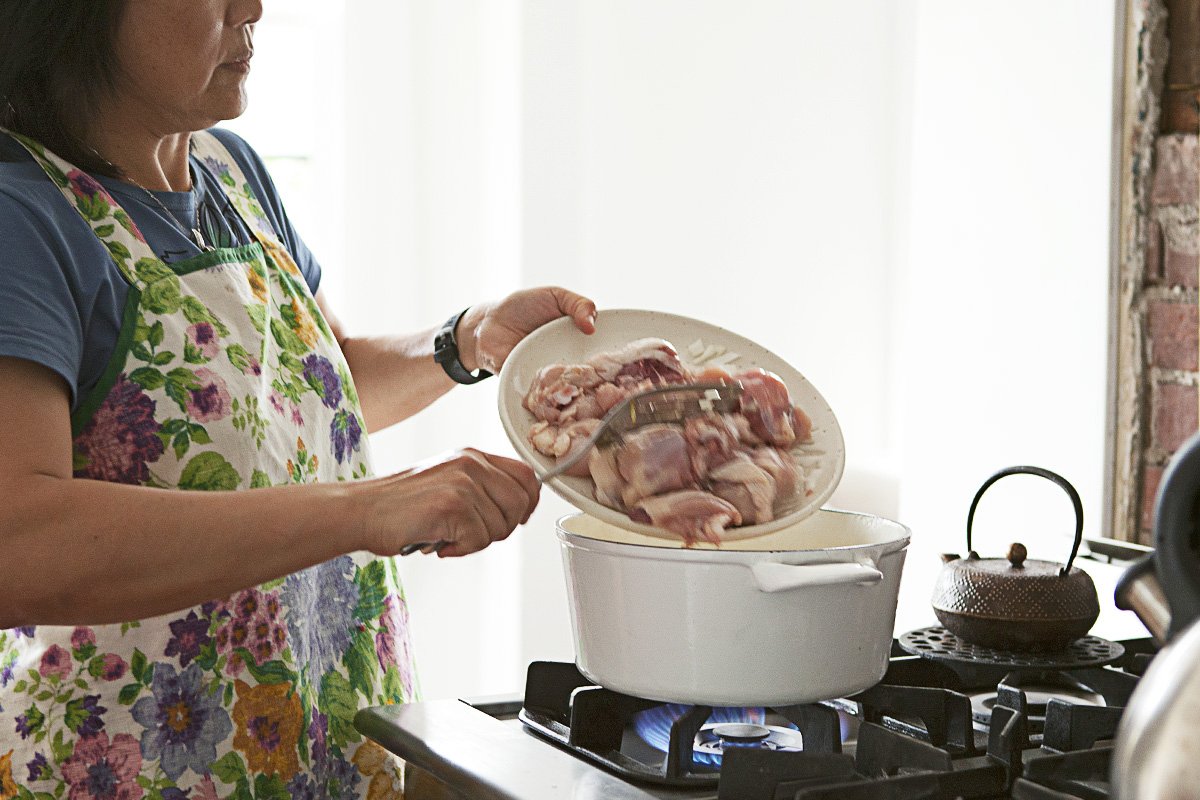
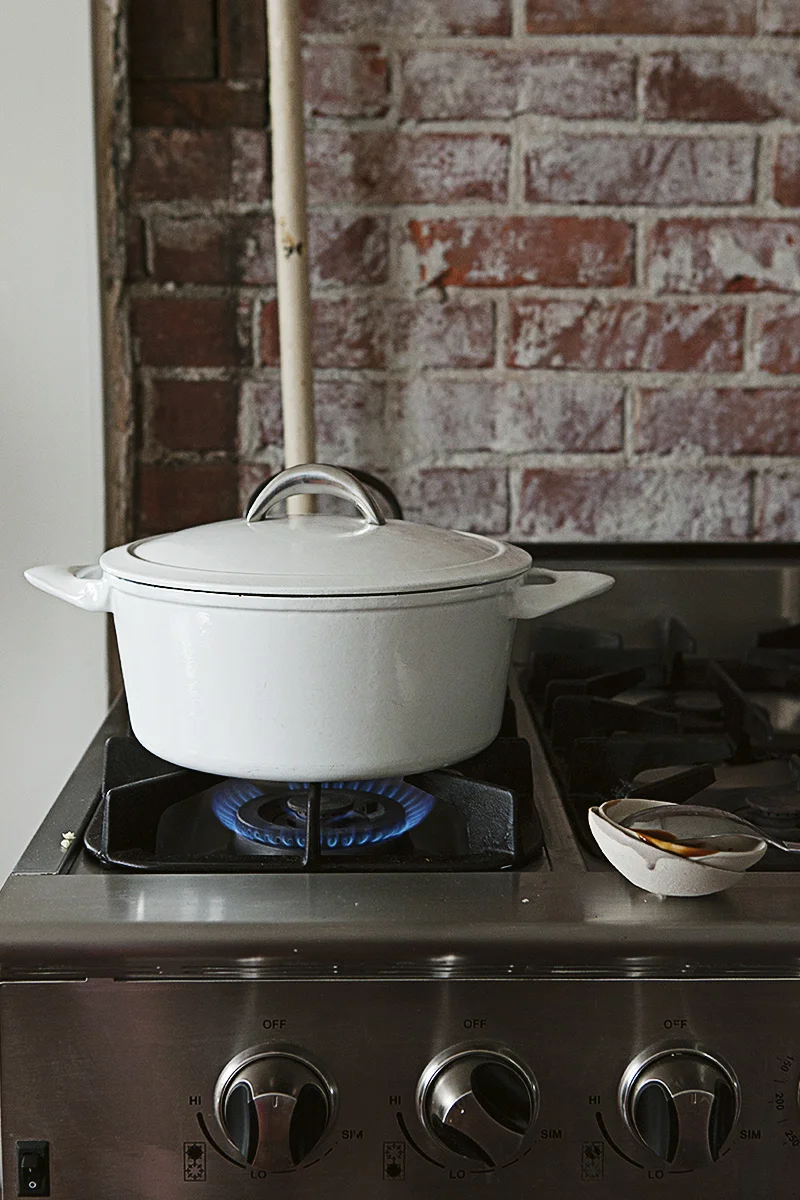
1) Heat 2 tbsp. of grapeseed oil or any sort of neutral cooking oil in a large pot or dutch oven. Sauté the garlic first until fragrant and aromatic, before adding in the ginger and the onions. Sauté until the onions have softened and the ginger has imparted its fragrance.
Saiarun says it is important to add the garlic in first because the point is to have the garlic act as a flavourful undertone. It is not supposed to taste overly 'garlicky', even after using an entire bulb and a half. The ginger and the liquid aromatics are supposed to be in the forefront. The garlic here really acts as the flavour-base, so to speak.
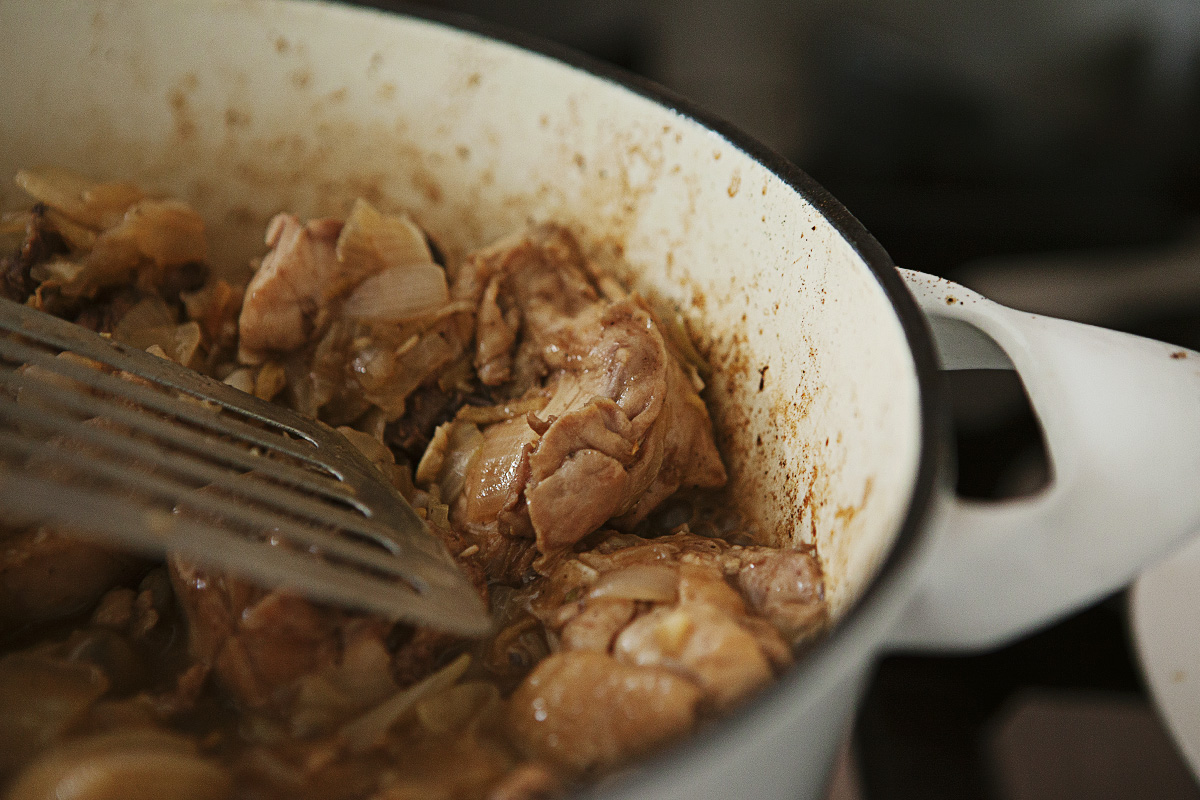
2) Add the chicken pieces into the pot and stir for a few minutes, making sure to coat the chicken sufficiently with the sautéed aromatics.
3) Add the oyster sauce, soy sauce, and pepper into the pot. Stir to incorporate.
4) Cover the pot and leave it for ten minutes.
5) After 10 minutes, stir from time to time, to make sure the chicken does not stick to the pot. The chicken juices and fat would have been released at this time, melding with the dry and liquid aromatics to create a 'stock'.
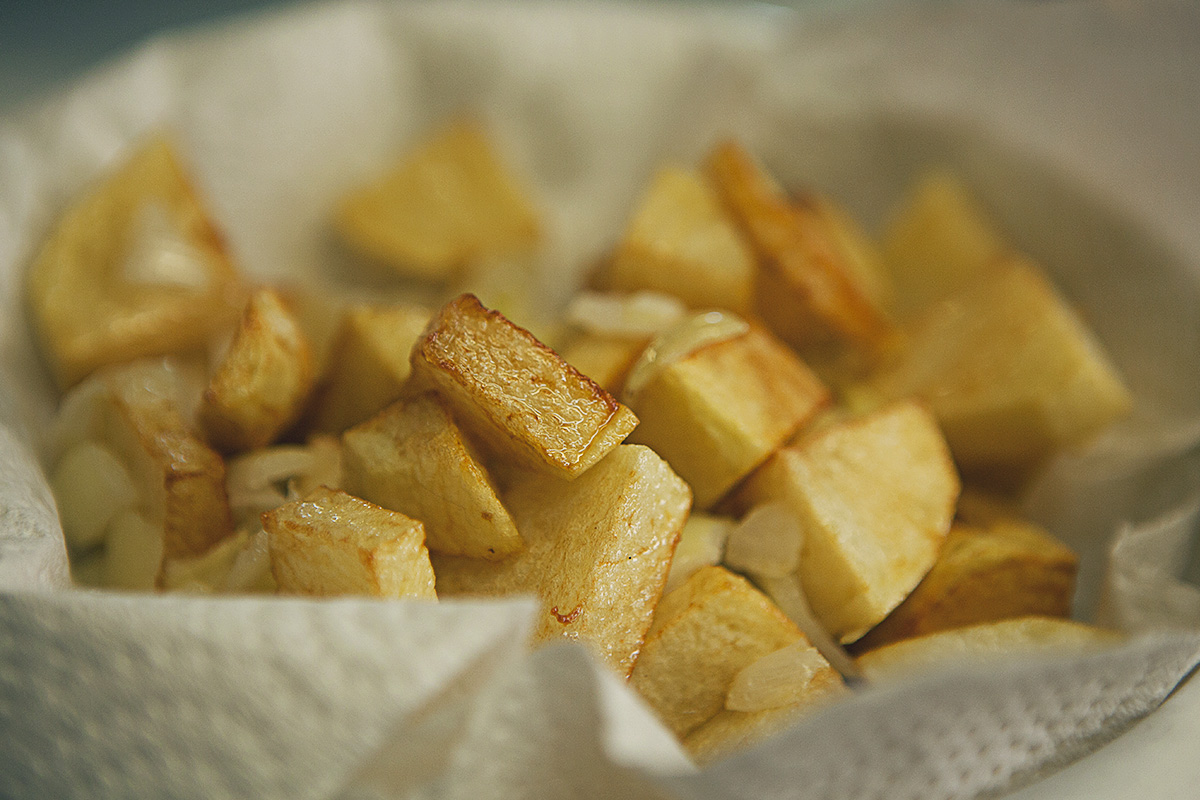
6) Simmer on high, uncovered, for another 10 minutes to let some of those juices evaporate and reduce.
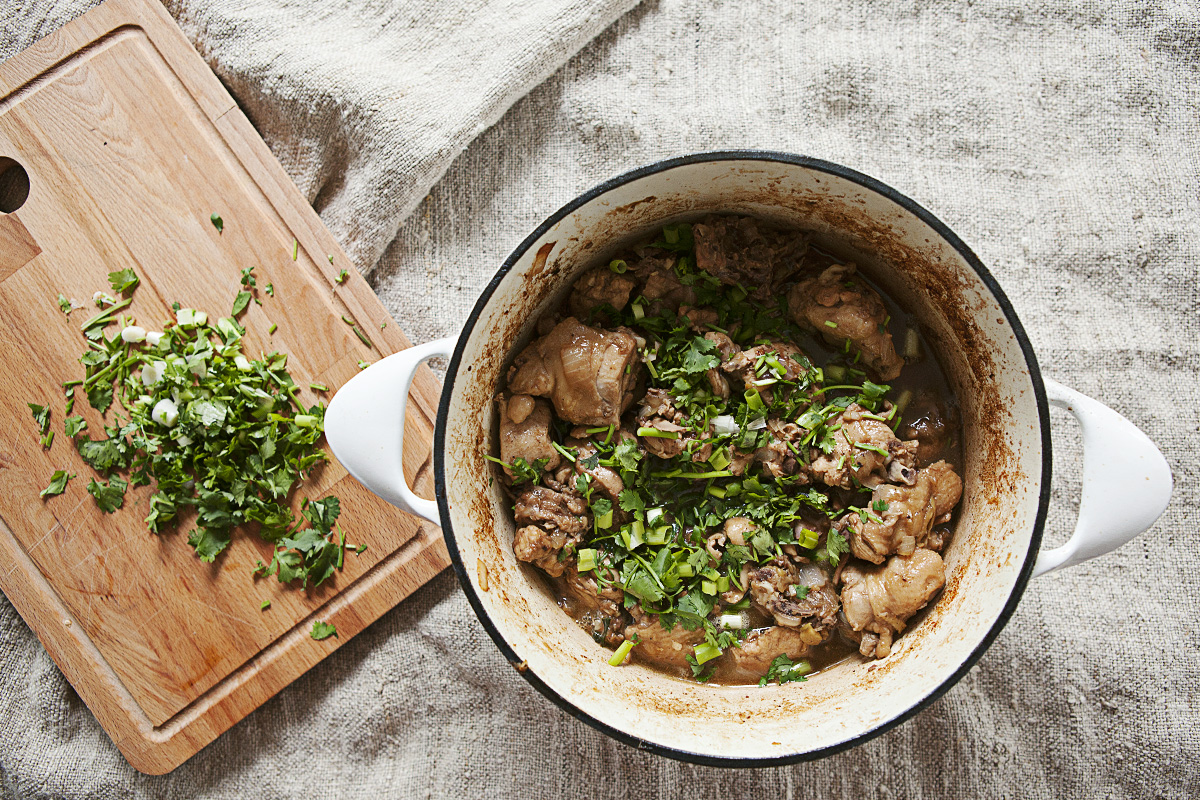
7) Season with more soy if needed, and take off the heat. Serve over steamed rice and garnish with fresh cilantro and chopped scallions.

Photographs: Issha Marie